Hey there, friends! It's Adeline here, and I'm thrilled to share a simple guide on making the most of your digital planning journey. Whether you're a seasoned pro or new to the world of digital downloads, this post is for you. We're diving into the exciting world of digital planners, specifically tailored for Goodnotes 6 users and creative souls who love to organize their lives digitally. Let's get started!

Getting Your Digital Planner Ready
First things first, let's talk about setting up your digital planner. I am currently using an iPad, particularly the iPad Pro 11-inch with the Apple M1 chip. Technically, a hyperlinked interactive Digital Planner can be used with any table and any PDF annotation app, please check your app compatibility. For now, here's a quick rundown:
- Choose Your PDF Annotation App: While any app will do, Goodnotes 6 is our go-to for this guide.
- Find Your Downloads: Know where your iPad's downloads folder is, or if you're a Dropbox user, check there.
- Open Your Digital Download: Once you've purchased a digital download from my shop, you'll find a PDF file ready to be opened in Goodnotes. Just tap the “share” icon to start.
- Switch to Read Mode: In Goodnotes 6, make sure you're in “Read” mode to activate clickable buttons and links.
- Customize Your Planner: From choosing the planner's start date to deciding on a weekly start day, customize it to fit your needs. You can even select whether you want your weekends shaded or clear.
Exploring Your Planner
Now that your planner is all set up, let's take a tour:

- Hyperlinks: Ensure you're in “Read” mode to use hyperlinks effectively.
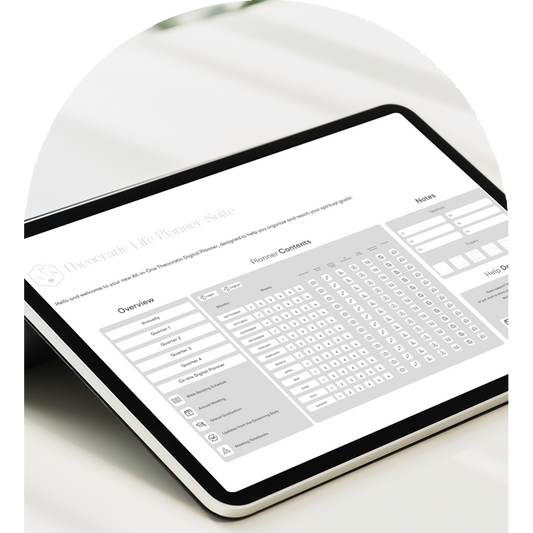
- Index Page: This is your planner's command center, with links to all features, monthly sections, and more.
- Monthly Pages: Jump to any month and access weekly and daily pages directly from here.
- Special Sections: Look out for sections tailored for meetings, events, and personal studies.
- Digital Stickers: Add flair to your planner with digital stickers, easily accessible and importable into Goodnotes.
Customizing with Covers and Stickers

- Planner Covers: Choose from a variety of covers to personalize your planner's look.
- Digital Stickers: Enhance your planner with pre-cropped Goodnotes sticker sheets or individual PNG files for non-Goodnotes users.
Making It Yours
- App Icons: Create a home screen shortcut for your planner, complete with custom icons for that personal touch.

Wrapping Up
And there you have it! A simple, friendly guide to getting started with your digital planner. Whether you're a digital planning veteran or just starting out, these tips are designed to help you navigate and personalize your planner with ease. Remember, the key to a successful digital planning experience is to make it uniquely yours. So dive in, explore, and most importantly, have fun with it!
I hope this guide helps you on your digital planning journey. If you have any questions or need a hand with anything, feel free to reach out. Happy planning!
Until next time,